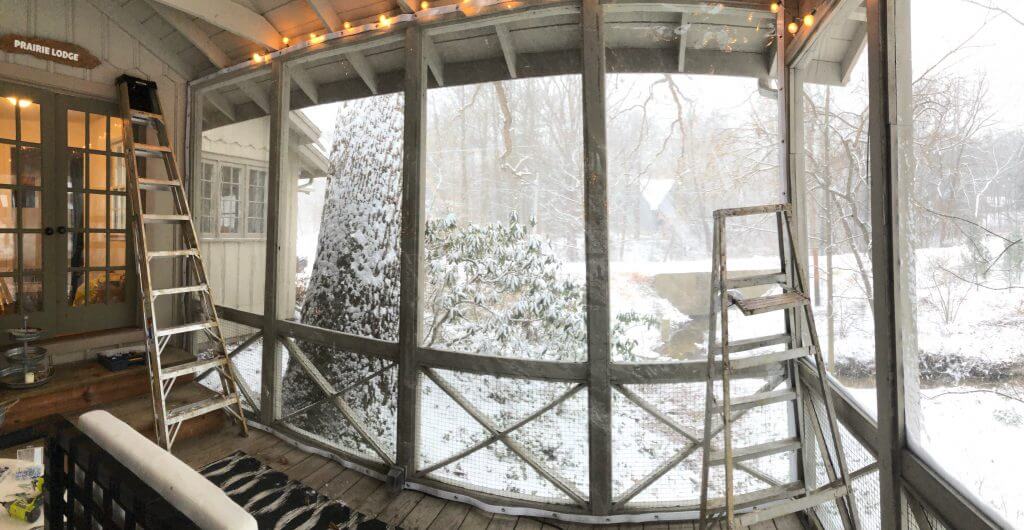
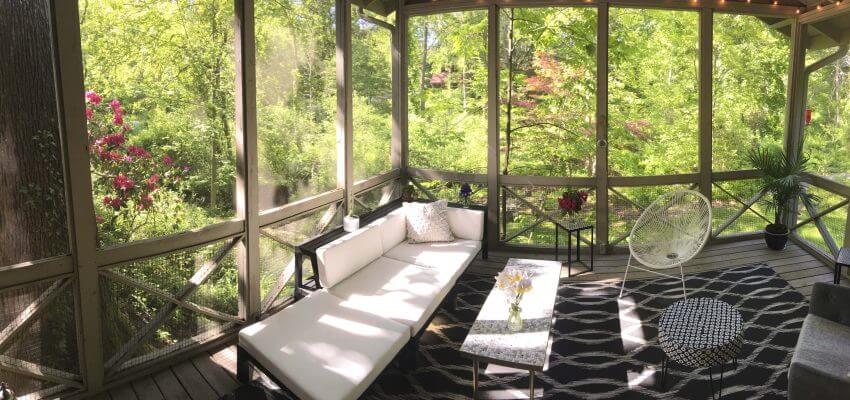
During the summer, we spend most of our time in our Michigan cottage in our screened in porch. It’s peaceful, with a great view of the creek in our backyard and surrounded by trees and nature. For the past two winters we have wanted to be out there and experimented with heat shrink plastic with double sided tape, which was a complete failure. The windows are just too large and the slightest wind ripped the plastic in half or pulled it right off the tape.
I researched various methods to try to do this with some kind of clear vinyl, but it was all very expensive and not fully clear. All I found was somewhat hazy plastic, so not very clear and not worth it. I reviewed many DIY projects that others had done to winterize their porches and it all seemed like way too much work and would probably look bad. My goals were to find a solution that was:
- Under $500 for 3 panels.
- Clear, with no haze.
- Must match my exact measurements of the room.
- Reusable.
- Easy to install and remove with grommets or hooks.
- Looks professional.
- Flame retardant.
Step One: Measure once, measure twice, measure three times.
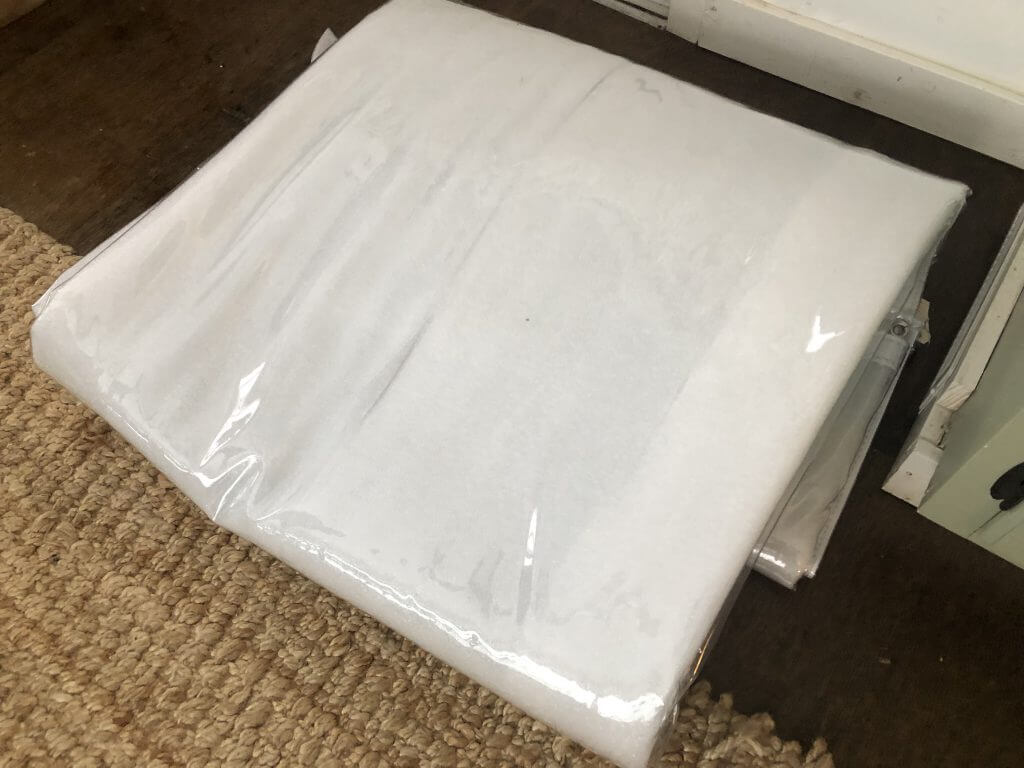
Step Two: Research and find the right material that match my needs. After researching off and on for a week, I couldn’t find any company around the US to do cut to my specific sizes, or that was anywhere near my budget. I called a local Chicago company, Chicago Canvas, to get a quote and they offered everything I needed, to be completed in a few weeks. It went over my budget, at $650, but still not too bad and it was local, so no shipping charges. But they were 20mil thick, which is really great. They also add grommets on all sides, at every 12″ for free.

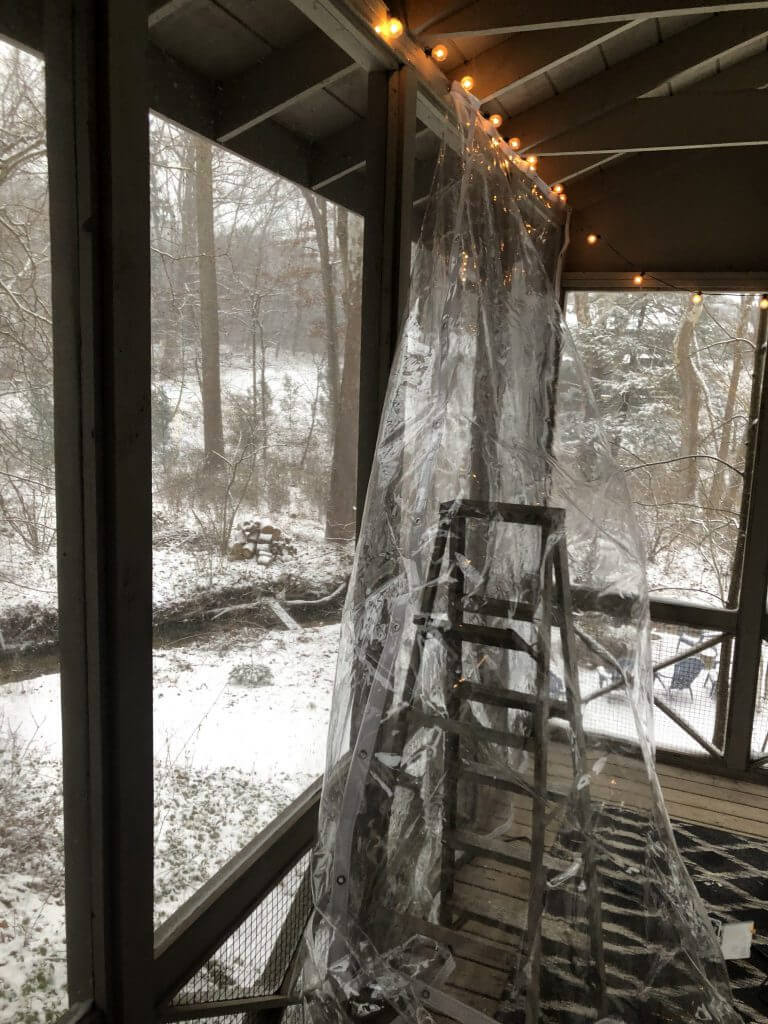
Step Three: Hang the clear canvas panels. My fiance and I spent a Saturday afternoon hanging these. We warmed them all up first, as it was below freezing outside. Then quickly tried to hang them. I stood on our rickety ladder and she held the plastic while I put screws in the ceiling to hang from. We chose to start in one top corner, and work our way over.

We took many breaks to warm our hands and feet, then continued till we had all three sides covered. It was a long, cold job, but worth the effort. The panels went up perfectly to the inch, with no issues at all. The plastic was much heavier than expected and made it a little tricky to hang. The only thing we need to worry about now is the bottom. I had to cut a few slots for outlets, but that was easy. I’d like to add a draft stopper sock tube thing to minimize the cold air creeping in.

Step Five: Find a suitable indoor heater to warm this joint up. I purchased a Duraflame brand infrared heater at Lowes, as it said 2.6X more heat than traditional heaters on the box. We let it run for a couple hours and it barely kicked out any heat at all. Our mini ceramic heaters did a much better job. Heater updates soon. I’m also hoping if it gets hot enough in there, that the slight wrinkles in the plastic will smooth out.

Step Six: Kick back and enjoy the cold winter view from the warm porch.


I love your blog.. very nice colors & theme. Did you create this website yourself? Plz reply back as I’m looking to create my own blog and would like to know wheere u got this from. thanks
Hi, thanks. I’m just using the free WordPress and hosting on my server. Currently using the ‘Bloggist’ Theme. Super easy to use.
where do you buy them and how much buy the 12 at a time lofty
Hello, I got them on special order from chicagocanvas.com