Back in April of 2016, I heard the 99% Invisible Podcast about speech synthesizers. It was an enlightening look at Bell Labs Voder, the first speech synthesizer, which debuted at the Worlds Fair, in 1939. We had speech synthesizers back in 1939! But most of this episode was dedicated to SIGSALY. This was the codename for a top-secret military vocoder (short for Voice Encoder), used for voice encoding/encryption for long distance communications during wartime. World leaders could speak to each other over long distance phone calls, without fear of enemies listening in. It didn’t sound great, but it worked.

This was a massive inspiration for me to build a speech synthesizer and inspired me to name my first synthesizer, the Sigsaly-X. I’ve always had an obsession with speech synthesis and this really kicked my butt to create my own. I happened to have my first CNC, a mini X-Carve and had recently added a 5.6mW blue laser to the CNC and taught myself how to control it using direct G-Code commands. This is probably a topic for another post, so onto the case design and synthesizer build.


Besides the electronics, I wanted a cool housing with a good interface for it. Using Adobe Illustrator, I went through multiple iterations of the main panel. After 25 versions of it or so, I landed on a final design. I wanted all the buttons to play with, as this was meant to be my test synth to design a simplified version later.


My goal was to design the synthesizer around an Arduino, using the Ginsing/SoundGin chip. I started by purchasing an Arduino shield specifically built for the Ginsing. I was not into creating a synthesizer from scratch as I had little idea of what I was doing. I feel much more comfortable programming a synth, than with a massive amount of electronics.

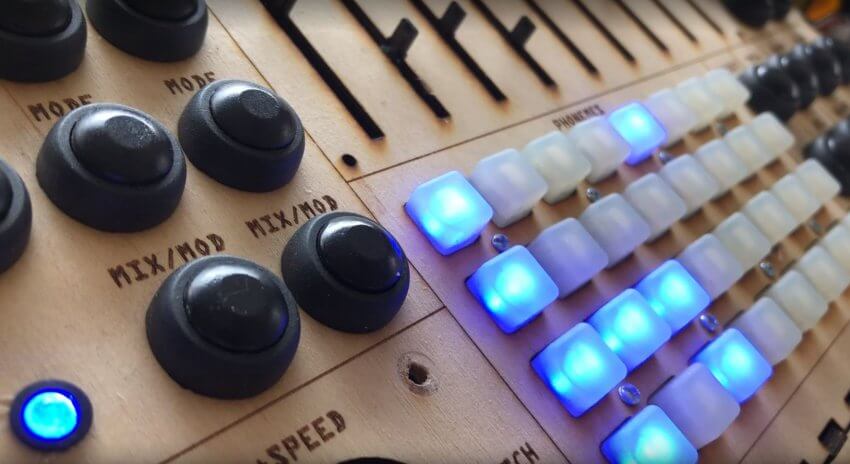
I built most of the synth on a breadboard, but it got so thick with loose wires that I gave up and drew it on paper instead. Once I had a pretty good idea of what I wanted, I spent a lot of time designing the case for it, mostly to mount the multitude of buttons and sliders. I sourced all of the parts, very cheaply from Ebay and the American Science and Surplus center in Chicago. They buttons are ugly, but my total budget for this was zero dollars so I took what I could get. I had planned to make the next one more pro, with super slick buttons and sliders.
After installing the two 8X8 Button arrays, I programmed them to give a little light show on startup. It was a good break from programming sounds.

I fell into a rabbit hole of programming this sucker. I think I spent a year programming it and I’m still not finished. I set up a lot of presets and added an option to switch between speech synth and normal synth modes. I spent most of the time on minor adjustments to the sliders min/max values. Even tiny adjustments make major differences in the sound.

Below are a few videos of the never-quite-final version…

