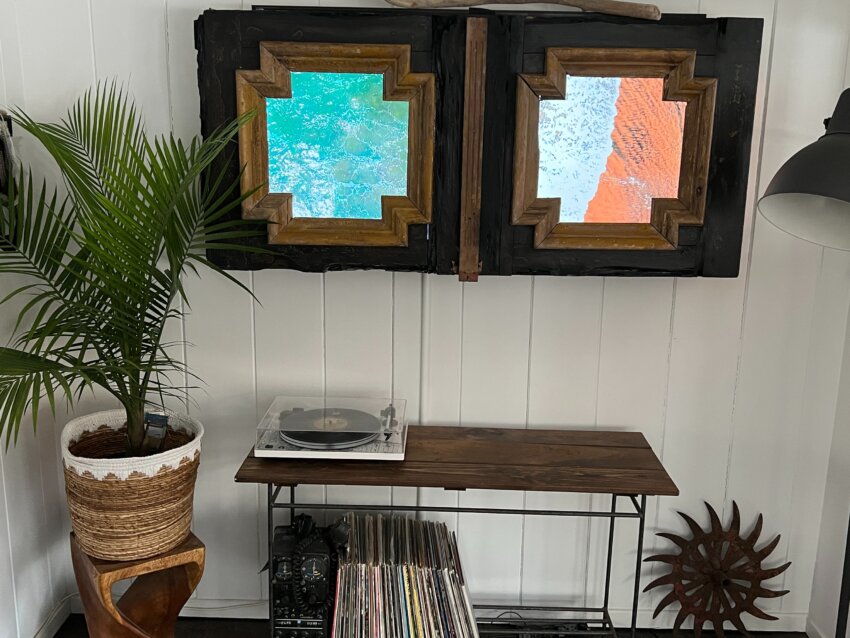
For lack of a better name, I’m calling this piece the Barn Windows. Last year, we were shopping at an antique store called Blue Moon, in Indiana and found the most beautiful window frame that supposedly came out of an old barn. Our first thought was to use it as an ornate picture frame and have photos inserted.
My job is to create video installations, LED walls, immersive experiences, robotics and custom software with my company, M1 Interactive, for clients around the world, leaning toward Art + Design, over branding. I thought this frame would be much better suited as a frame for a video art piece. I have experimented in creating art for gallery exhibition but lost interest years ago. Doing this for personal use in my own home has been very inspiring and I’ll continue to create more.
After purchasing the frame and bringing it home, I spent some time cleaning it up and fixing some issues from termites and cracking wood. This has to be about 100 years old, based on the state of the wood and how dry it is. I spent some time making drawings and engineering a way to mount a monitor to the back of the wall to create a digital art display.
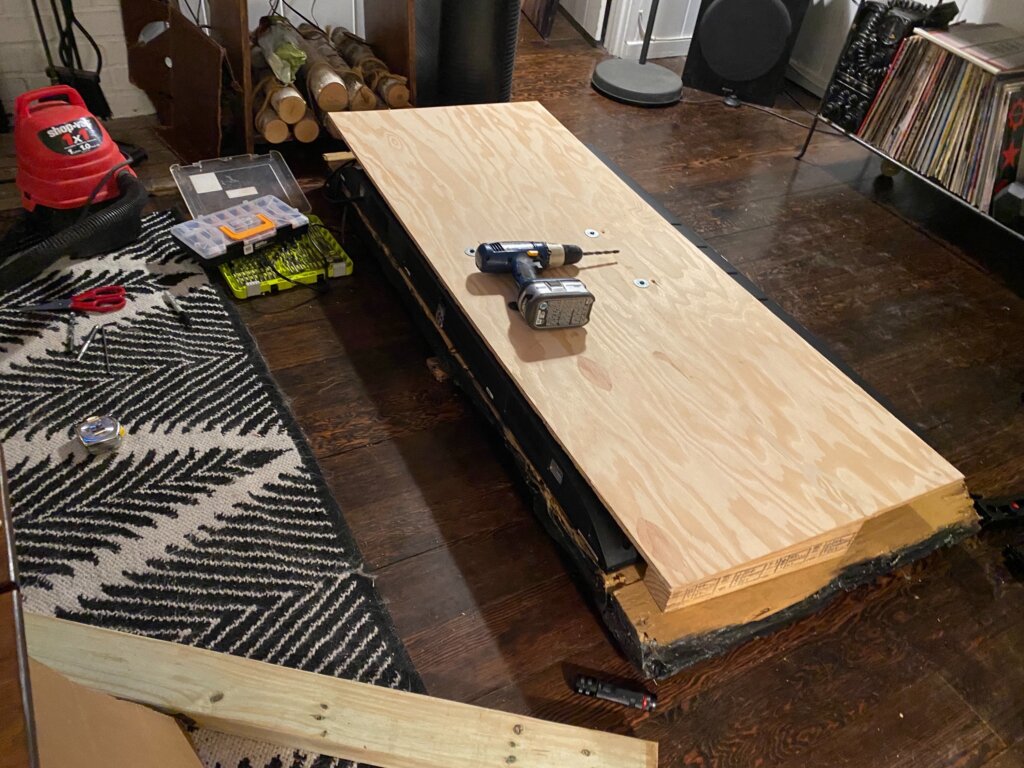
I spent some time researching and designing a system to mount the monitor face to the back of the barn window frame, while also figuring out how to mount a standard Peerless wall mount to the wall to mount the entire system. From experience mounting very heavy displays on various substrates, ie. wall surfaces I used our favorite thing for the project, heavy duty Peerless wall mount and plenty of snap-toggles. I use the 1/4-20 toggles and we buy them in bulk for these types of installations.
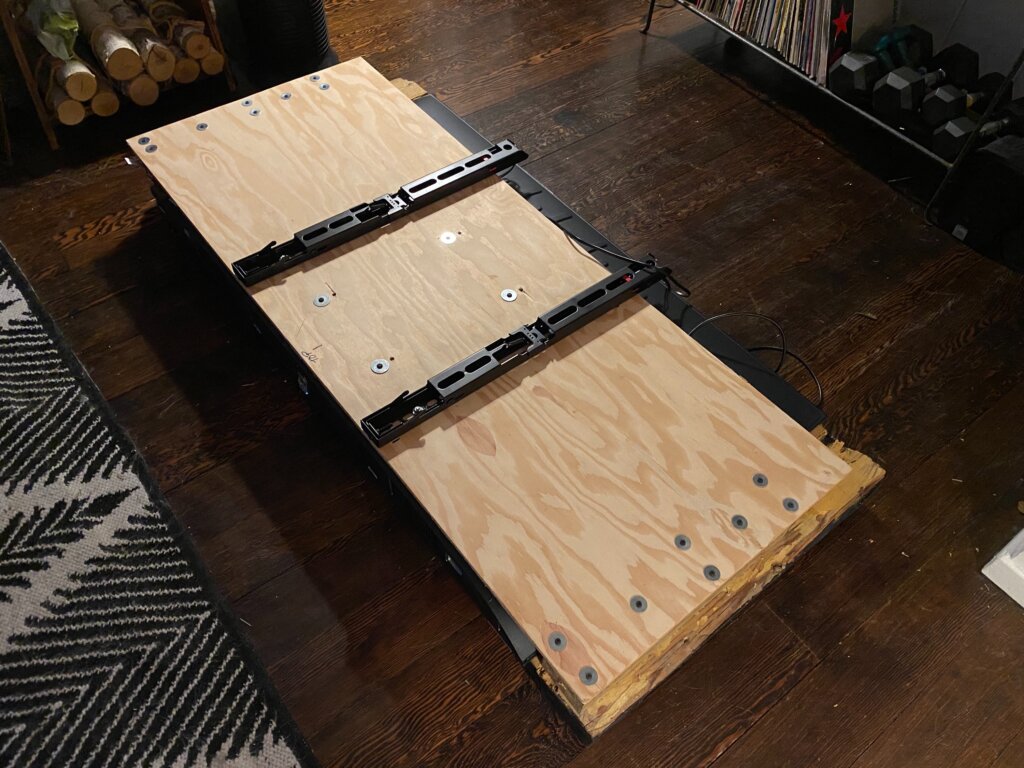
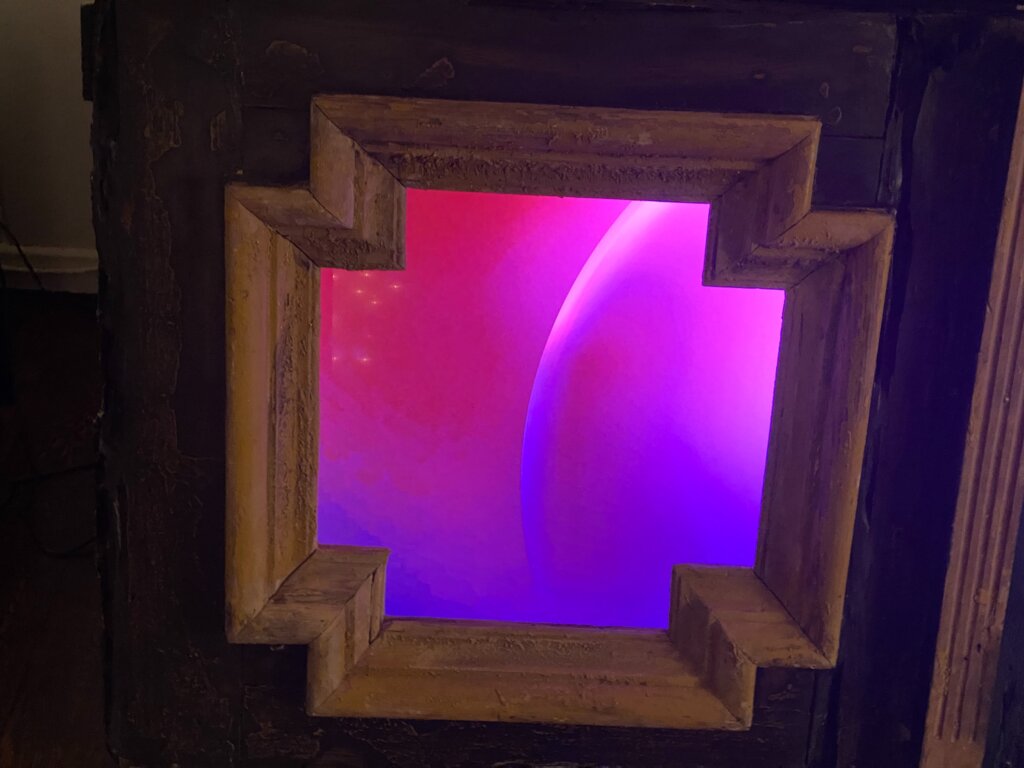
They’re great at supporting heavy loads and are super easy to install. We don’t screw around with expanding screw inserts as this type of display is much too heavy. Overall, I estimate it to be a total of 150 pounds, plus most of the weight is ‘levered’ off the wall about 6-8″, adding a considerable amount of down-pressure.
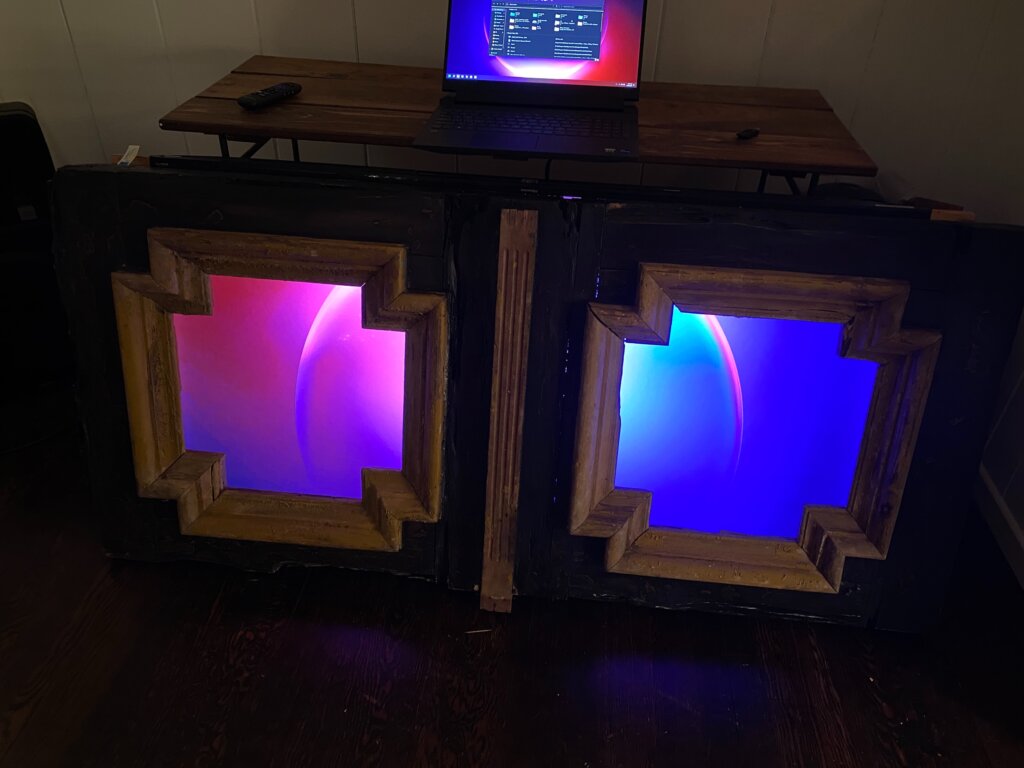
Finding a monitor that would fit was a huge challenge. I thought I would use 2 smaller displays, but the holes are square and no two rectangular displays would fit without hitting each other. I drew this out on paper, as it and sketched in a variety of displays I found at Best Buy and online and eventually found a 58″ 4K display at Walmart and used that. The bonus with newer model monitors is they have USB ports, so I could use a USB or HDMI input for video playback. Unfortunately, for proper weight and balance, I had to install the monitor upside down to rig properly, which meant I have to reverse videos to accommodate. I realized that most abstract content looks fine upside down, so it didn’t really matter.
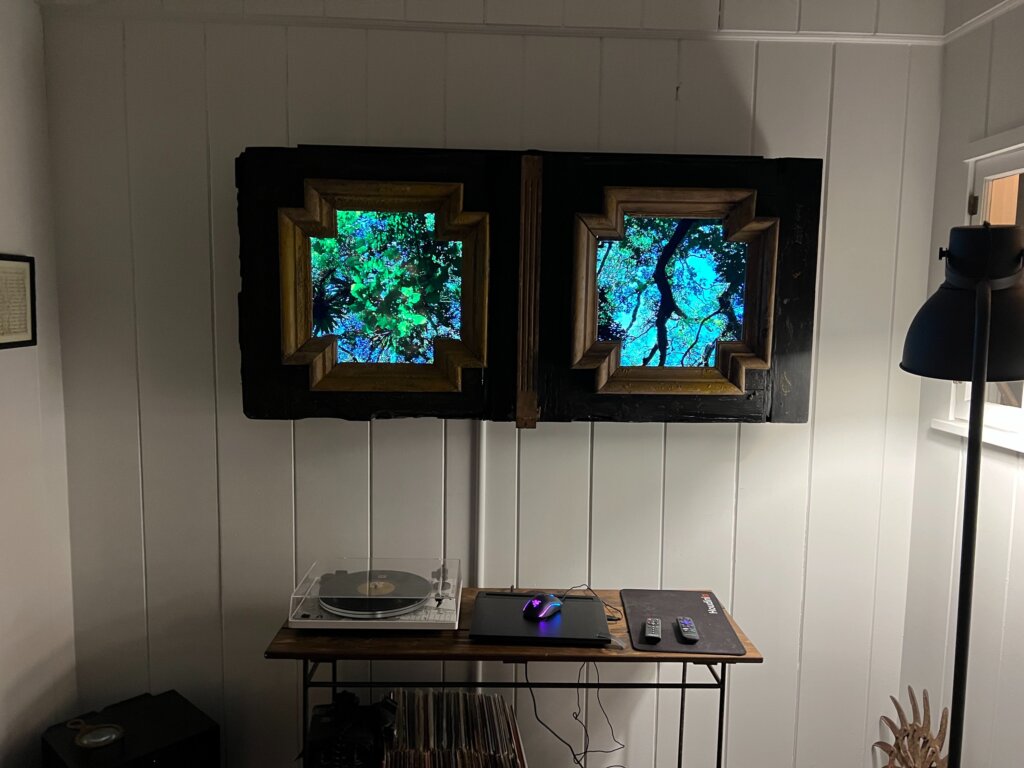
I have created many hours of videos for LED video wall installations and stock video content for projects we have installed around the country. For the most part, I used my previously shot drone footage of waves and sand dunes, since we’re near Lake Michigan. But I’m also showcasing abstract content I shot, like ink drops in water and chemical reaction closeups in slow motion.
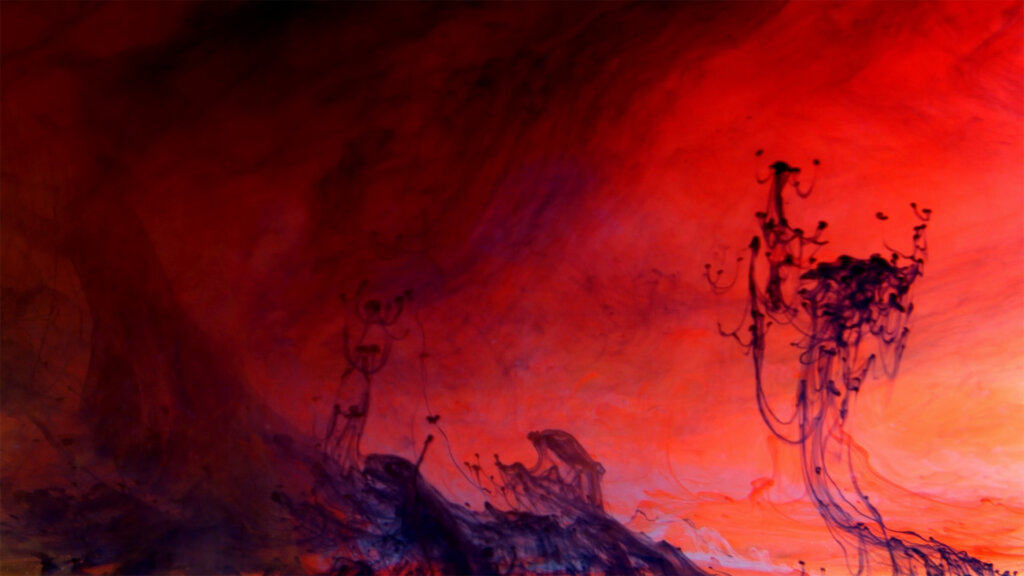
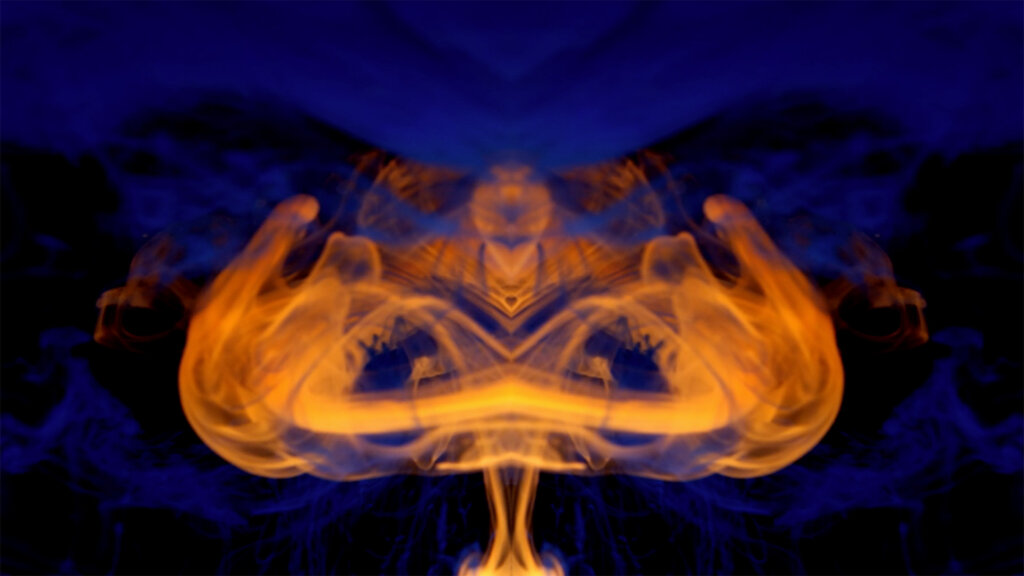
I got to work creating a template specifically for this project, using a combination of Touchdesigner and Adobe After Effects. Then I could easily drop pre-made content in and export it to fit the screen. Then I used a simple looping video playback device that reads content off of a USB thumb drive in 4K and plays it back on an endless loop in a playlist.
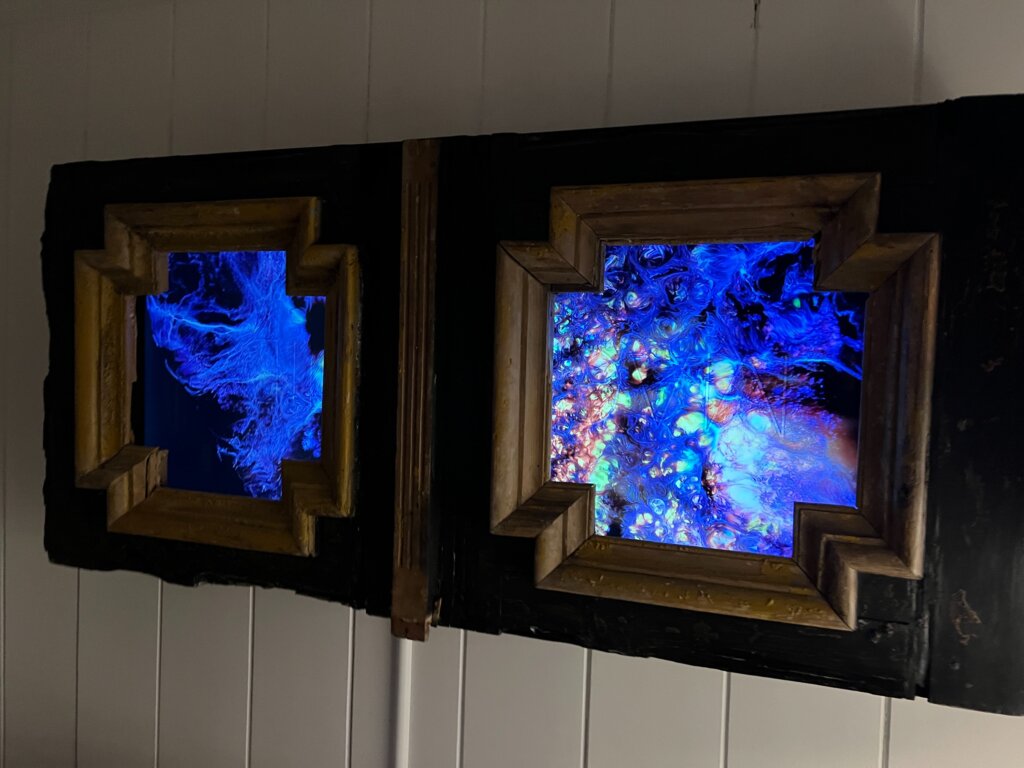
Overall, I’m extremely happy and proud of the project and hope to do many more as I have time. Since this is generally how I spend my down-time, by working, I’m sure I’ll be making many more similar projects.

